[TIL/React] 2023/08/31
쇼핑하기 페이지 구현 🟠iamge정육각 홈페이지에서 이미지를 추출해 옴!, 객체 형태로 각 이미지를 구성한 다음, shoppingMainImg라는 이름으로 exportdata카테고리 리스트에서는 id, title, image를 객체로 담아 배열화 함!shopping
쇼핑하기 페이지 구현 🟠
1. iamge
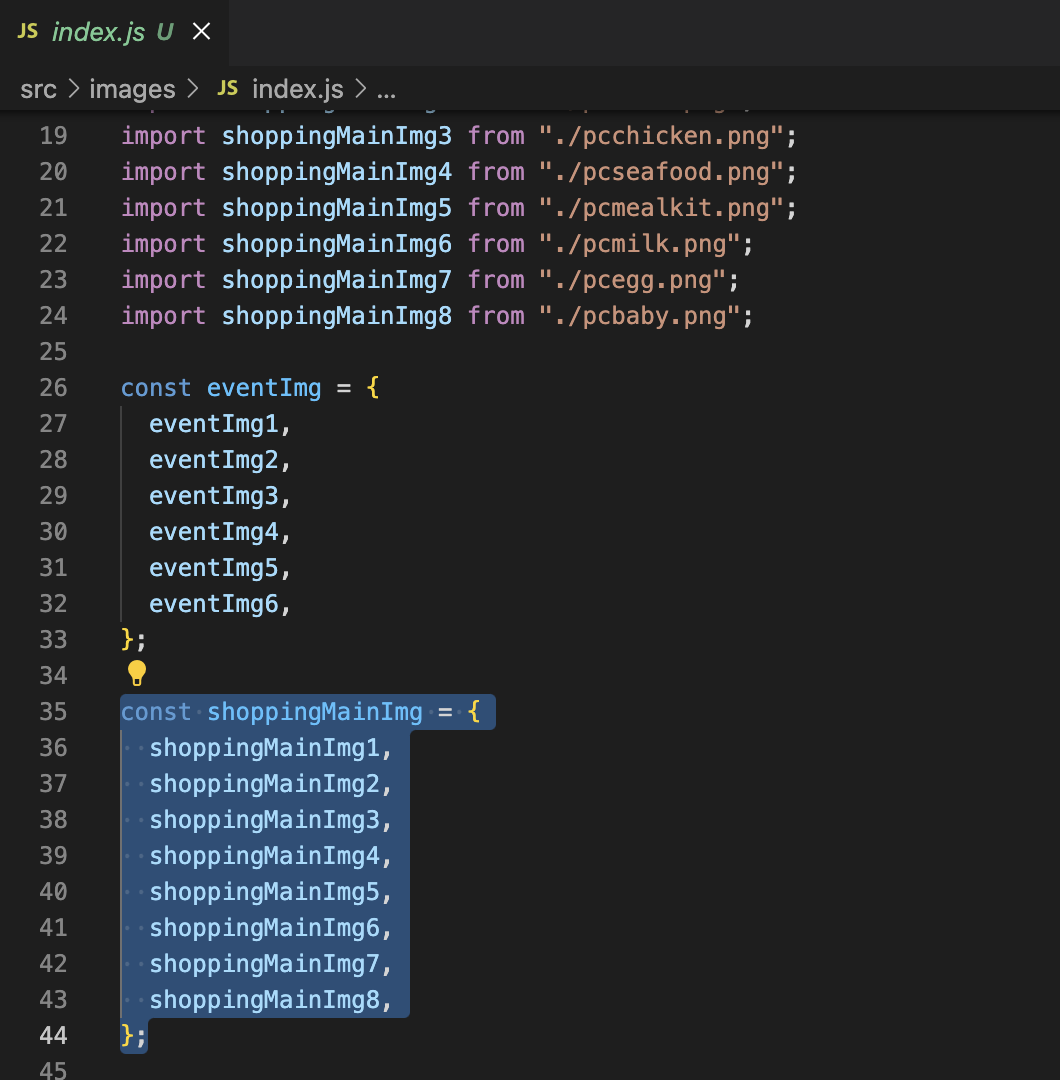
정육각 홈페이지에서 이미지를 추출해 옴!, 객체 형태로 각 이미지를 구성한 다음, shoppingMainImg라는 이름으로 export
2. data
import { shoppingMainImg } from "../images";

export const shoppingCategoryList = [
  {
    id: "1",
    title: "돼지",
    mainImage: shoppingMainImg.shoppingMainImg1,
  },
  {
    id: "2",
    title: "소",
    mainImage: shoppingMainImg.shoppingMainImg2,
  },
  {
    id: "3",
    title: "닭",
    mainImage: shoppingMainImg.shoppingMainImg3,
  },
  {
    id: "4",
    title: "수산",
    mainImage: shoppingMainImg.shoppingMainImg4,
  },
  {
    id: "5",
    title: "밀키트",
    mainImage: shoppingMainImg.shoppingMainImg5,
  },
  {
    id: "6",
    title: "우유",
    mainImage: shoppingMainImg.shoppingMainImg6,
  },
  {
    id: "7",
    title: "달걀",
    mainImage: shoppingMainImg.shoppingMainImg7,
  },
  {
    id: "8",
    title: "이유식",
    mainImage: shoppingMainImg.shoppingMainImg8,
  },
];
카테고리 리스트에서는 id, title, image를 객체로 담아 배열화 함!
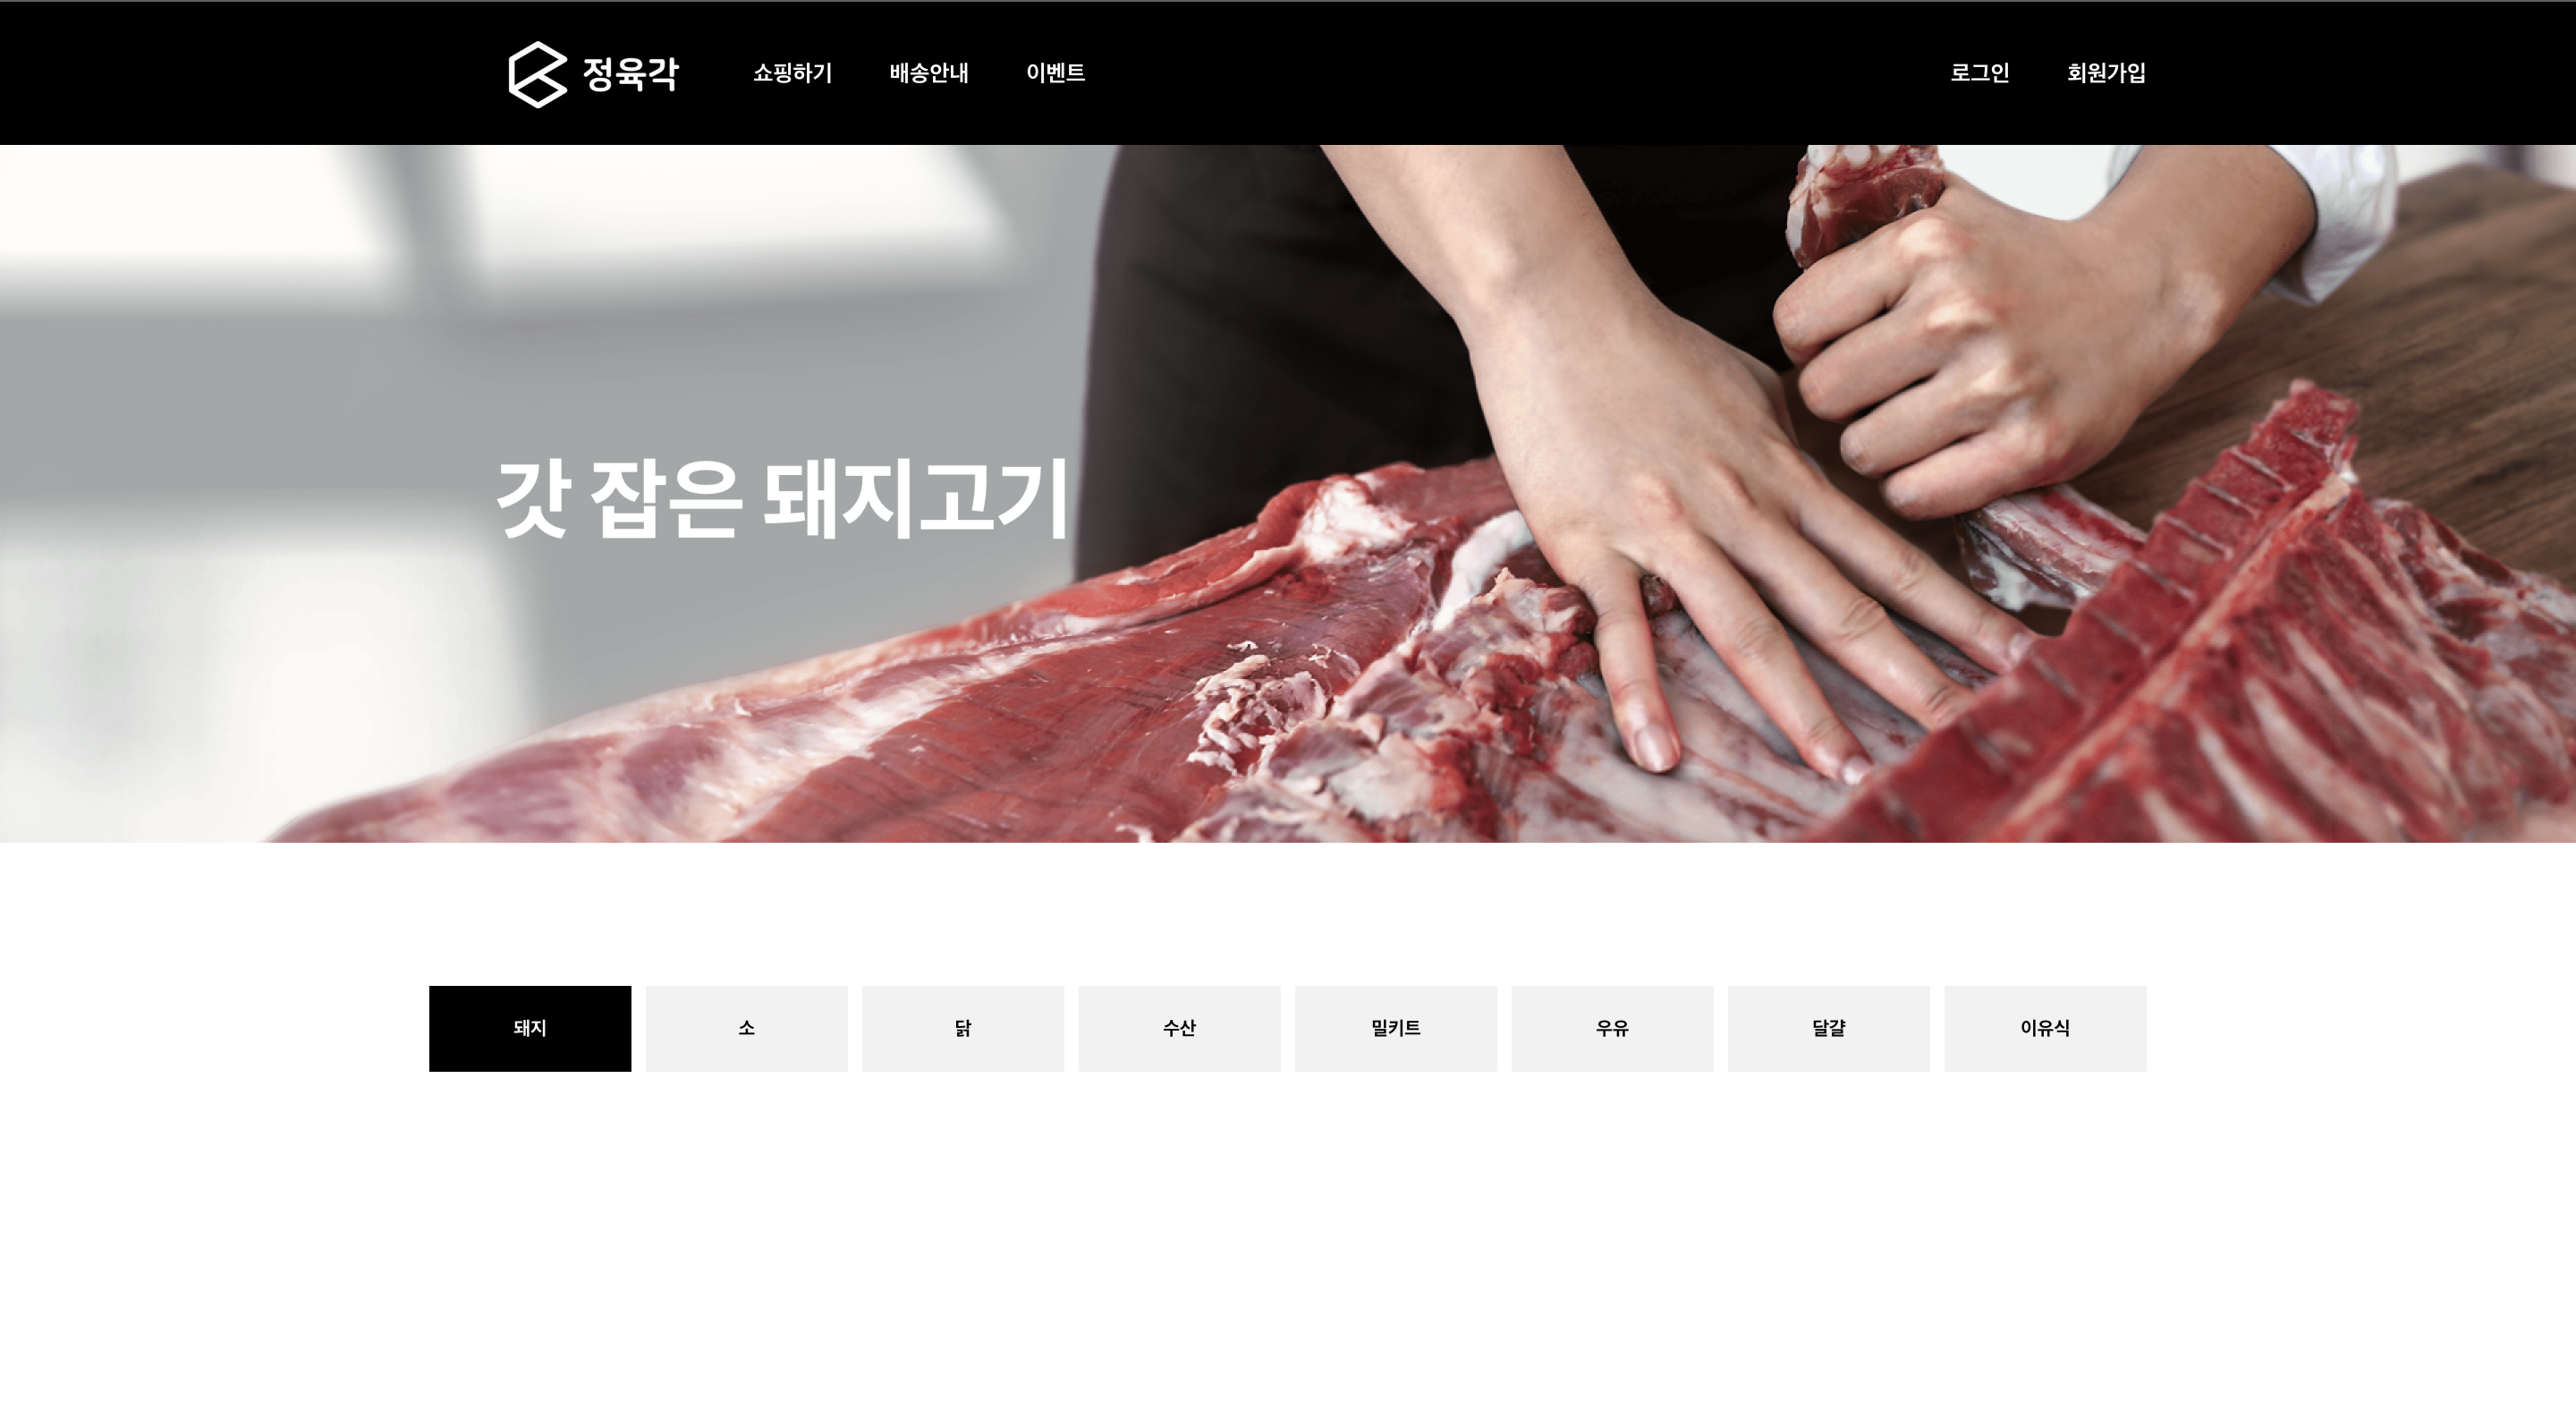
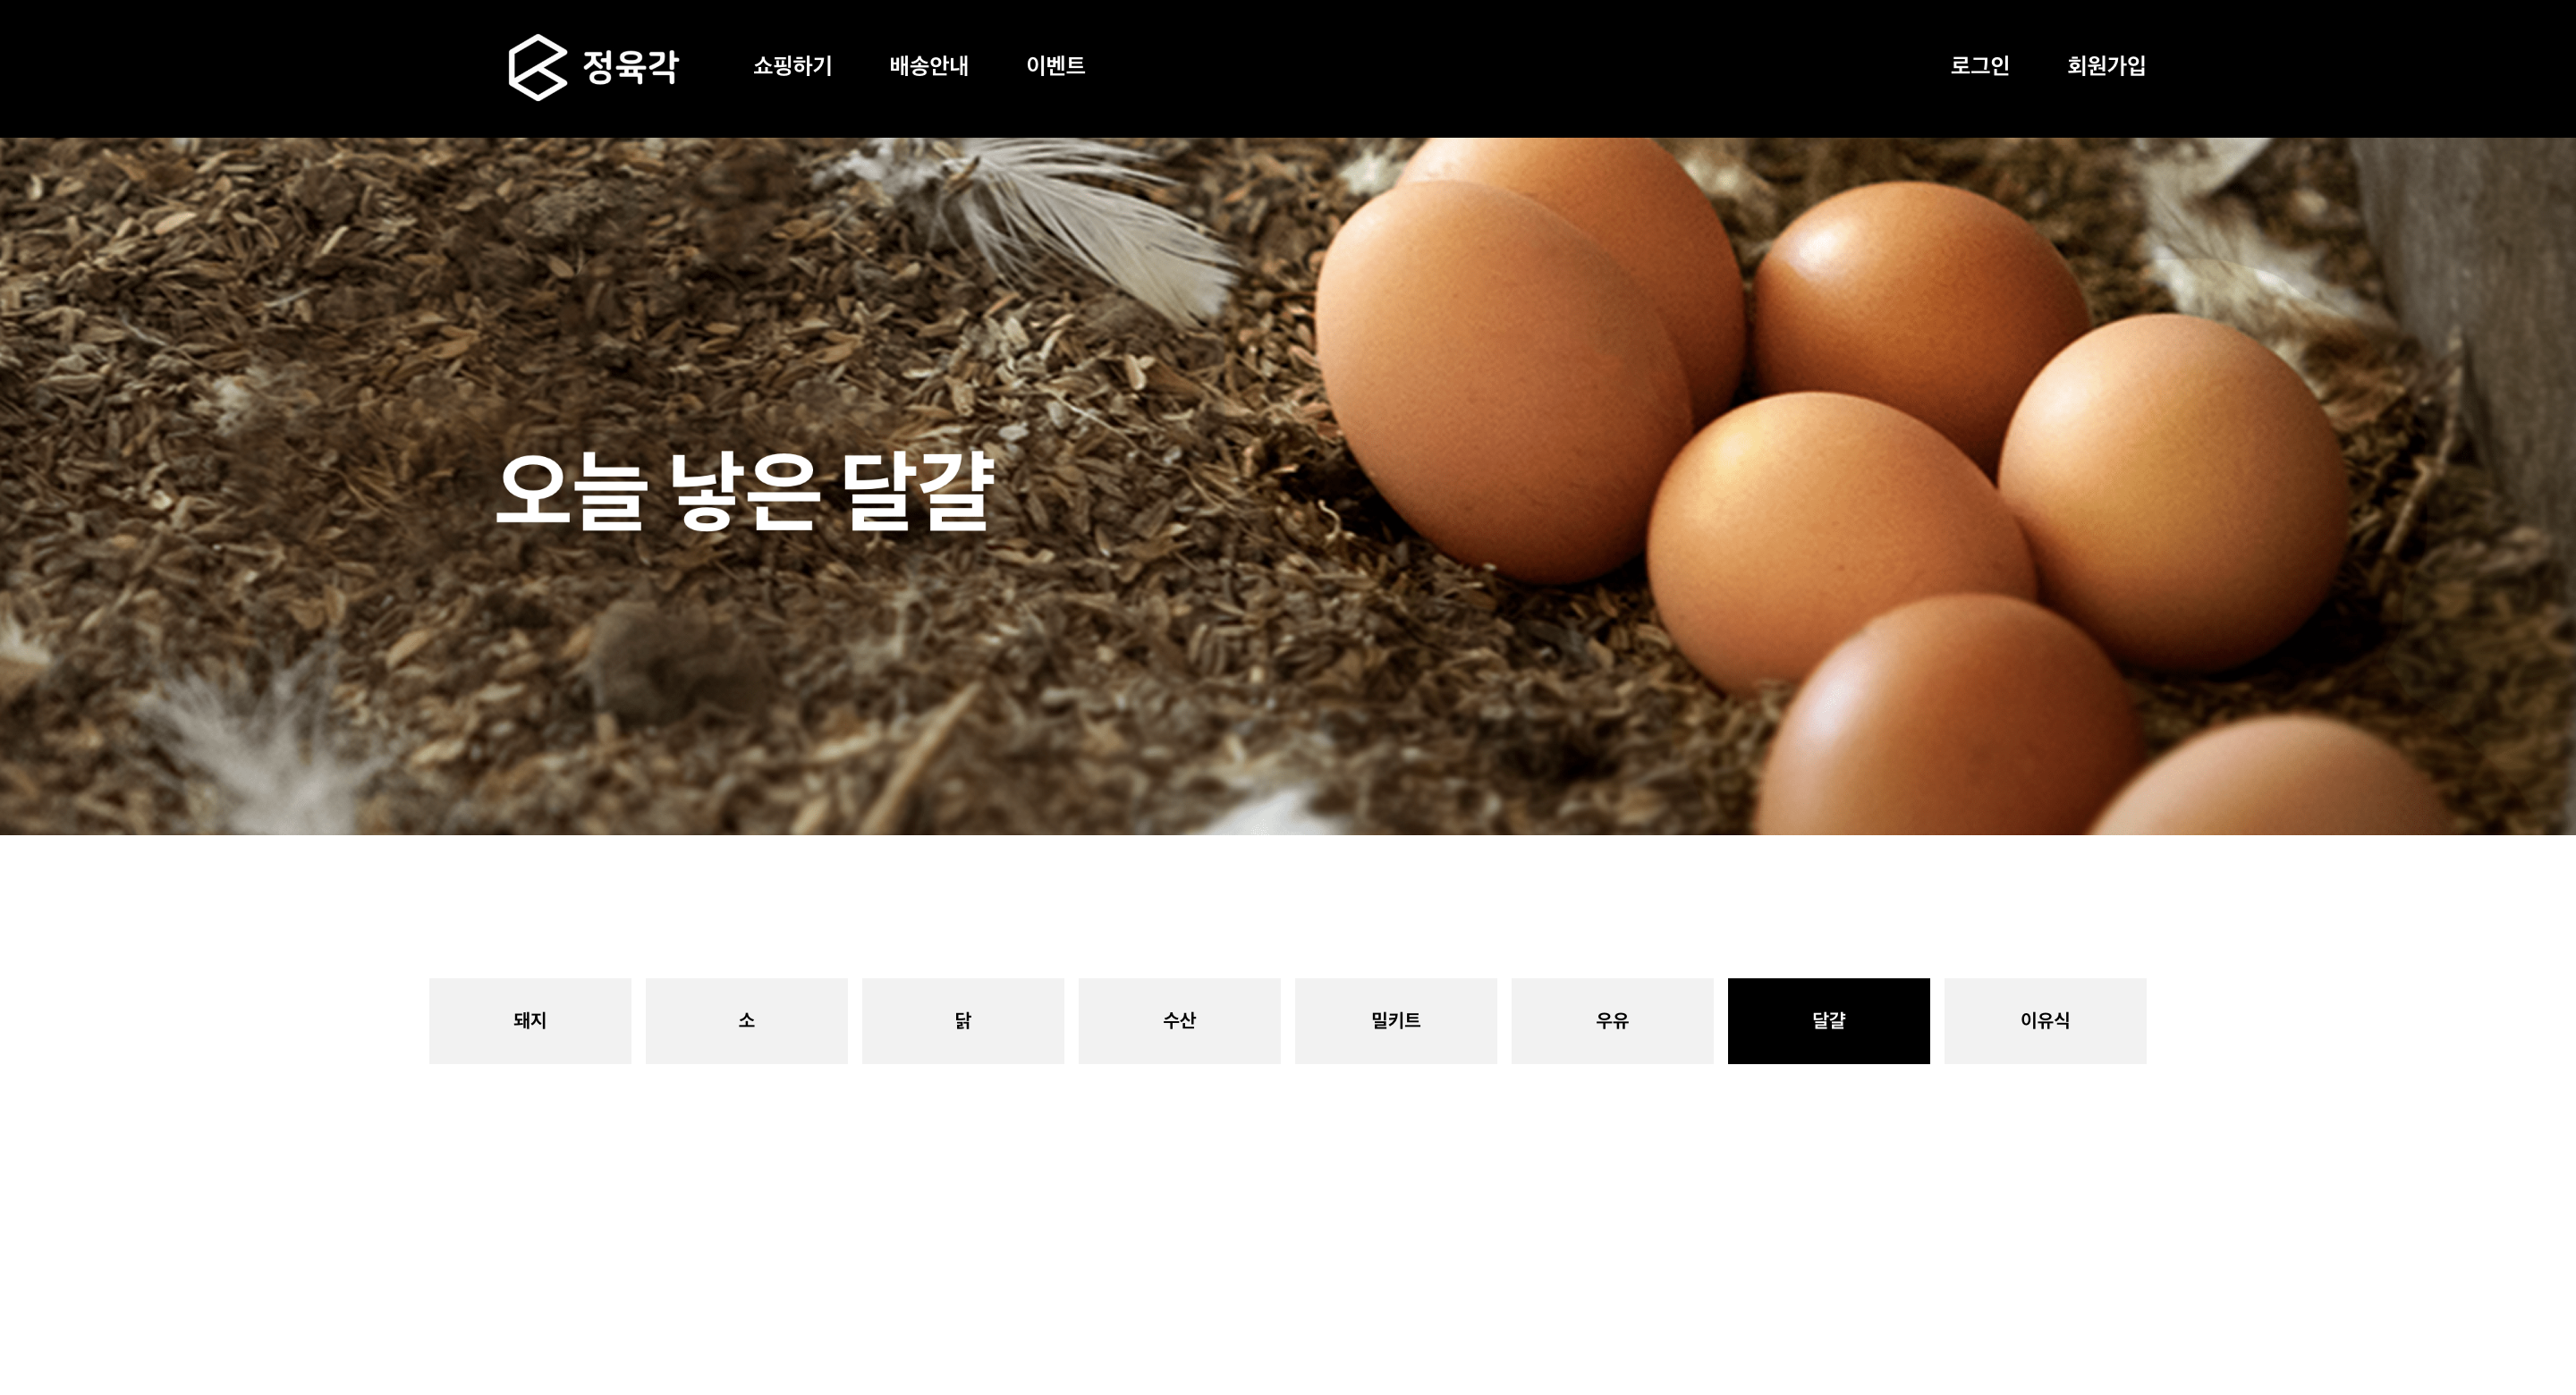
3. shopping page
import React, { useState } from "react";
import styled from "@emotion/styled";
import ComponentWrapper from "../components/common/ComponentWrapper";
import { shoppingCategoryList } from "../data/ShoppingCategoryList";

const ShoppingMainImgWrapper = styled.div`
  width: 100%;
  display: flex;
  justify-content: center;
  align-items: center;
`;

const ShoppingMainImg = styled.img`
  max-width: 100%;
  max-height: 100%;
  object-fit: cover;
`;

const ShoppingCategoryButton = styled.button`
  background-color: ${(props) => (props.isSelected ? "black" : "#f2f2f2")};
  border: none;
  color: ${(props) => (props.isSelected ? "white" : "black")};
  font-weight: bolder;
  width: 100%;
  height: 60px;
  &:hover {
    background-color: black;
    color: white;
  }
`;

const ShoppingPage = () => {
  const [selectedCategory, setSelectedCategory] = useState(null);

  const handleShoppingPageViewClick = (category) => {
    setSelectedCategory(category);
  };

  return (
    <div>
      <ShoppingMainImgWrapper>
        {shoppingCategoryList?.map((elem) => (
          <ShoppingMainImg
            key={elem.id}
            src={elem.mainImage}
            alt={elem.title}
            style={{
              display: selectedCategory === elem.id ? "flex" : "none",
            }}
          />
        ))}
      </ShoppingMainImgWrapper>

      <ComponentWrapper>
        <div
          style={{
            display: "flex",
            justifyContent: "space-around",
            width: "100%",
            marginTop: "100px",
            columnGap: "10px",
          }}
        >
          {shoppingCategoryList?.map((elem) => (
            <div style={{ width: "100%" }}>
              <ShoppingCategoryButton
                key={elem.id}
                isSelected={selectedCategory === elem.id}
                onClick={() => handleShoppingPageViewClick(elem.id)}
              >
                {elem.title}
              </ShoppingCategoryButton>
            </div>
          ))}
        </div>
      </ComponentWrapper>
    </div>
  );
};

export default ShoppingPage;
구현하는데 집중해서 코드가 많이 조잡하다!
4. 현재 모습
회고 🔵

만학도의 개강은 너무도 두렵다...! 근데 어쩔건데? 원민관 너가 뭘 할 수 있는데? 8월도 고생 많았다!
More to read
프론트엔드와 백엔드 사이
HTTP 상태 코드는 프론트엔드에서 백엔드로 보냈던 요청의 수행 결과를 의미하는 일종의 약속이며, API를 구성하는 핵심 요소 중 하나입니다. 상태 코드와 관련하여, 백엔드는 잘 모르는 프론트엔드의 슬픈 사정이 있습니다.아래는 요청이 실패했음에도, 백엔드에서 상태 코드
JWT토큰 관리 방식 톺아보기
0. 들어가며 🎯 서비스에 접근하려는 사용자가 누구인지 확인하는 과정을 사용자 인증이라고 합니다. 인증된 사용자에게 주어진 권한을 확인하는 작업은 인가라고 부릅니다. 이번 글에서는 인가는 다루지 않습니다. 사용자 인증에는 많은 방식이 있지만, 오늘은 세션 인증 방
A2AA2A / MCP 멀티 에이전트 오케스트레이션
0. 들어가며 ✍️ Google for Developers에, 레스토랑 공급망 시나리오로 엮은 6대 프로토콜(MCP, A2A, UCP, AP2, A2UI, AG-UI)에 대한 가이드가 게시된 이후, MCP와 A2A부터 구현해 보는 것이 좋을 것 같다는 생각이 들었습니