[TIL/React] 2023/08/21
event page 관련 🟠 정육각의 event page를 구현하고자 한다. 마우스를 'press'하고(click과 구분할 것) 우측에서 좌측으로 넘기면, 진행중인 event들이 oveflow되는 모습을 볼 수 있다. best practice를 이해하는 방식을 택했
event page 관련 🟠
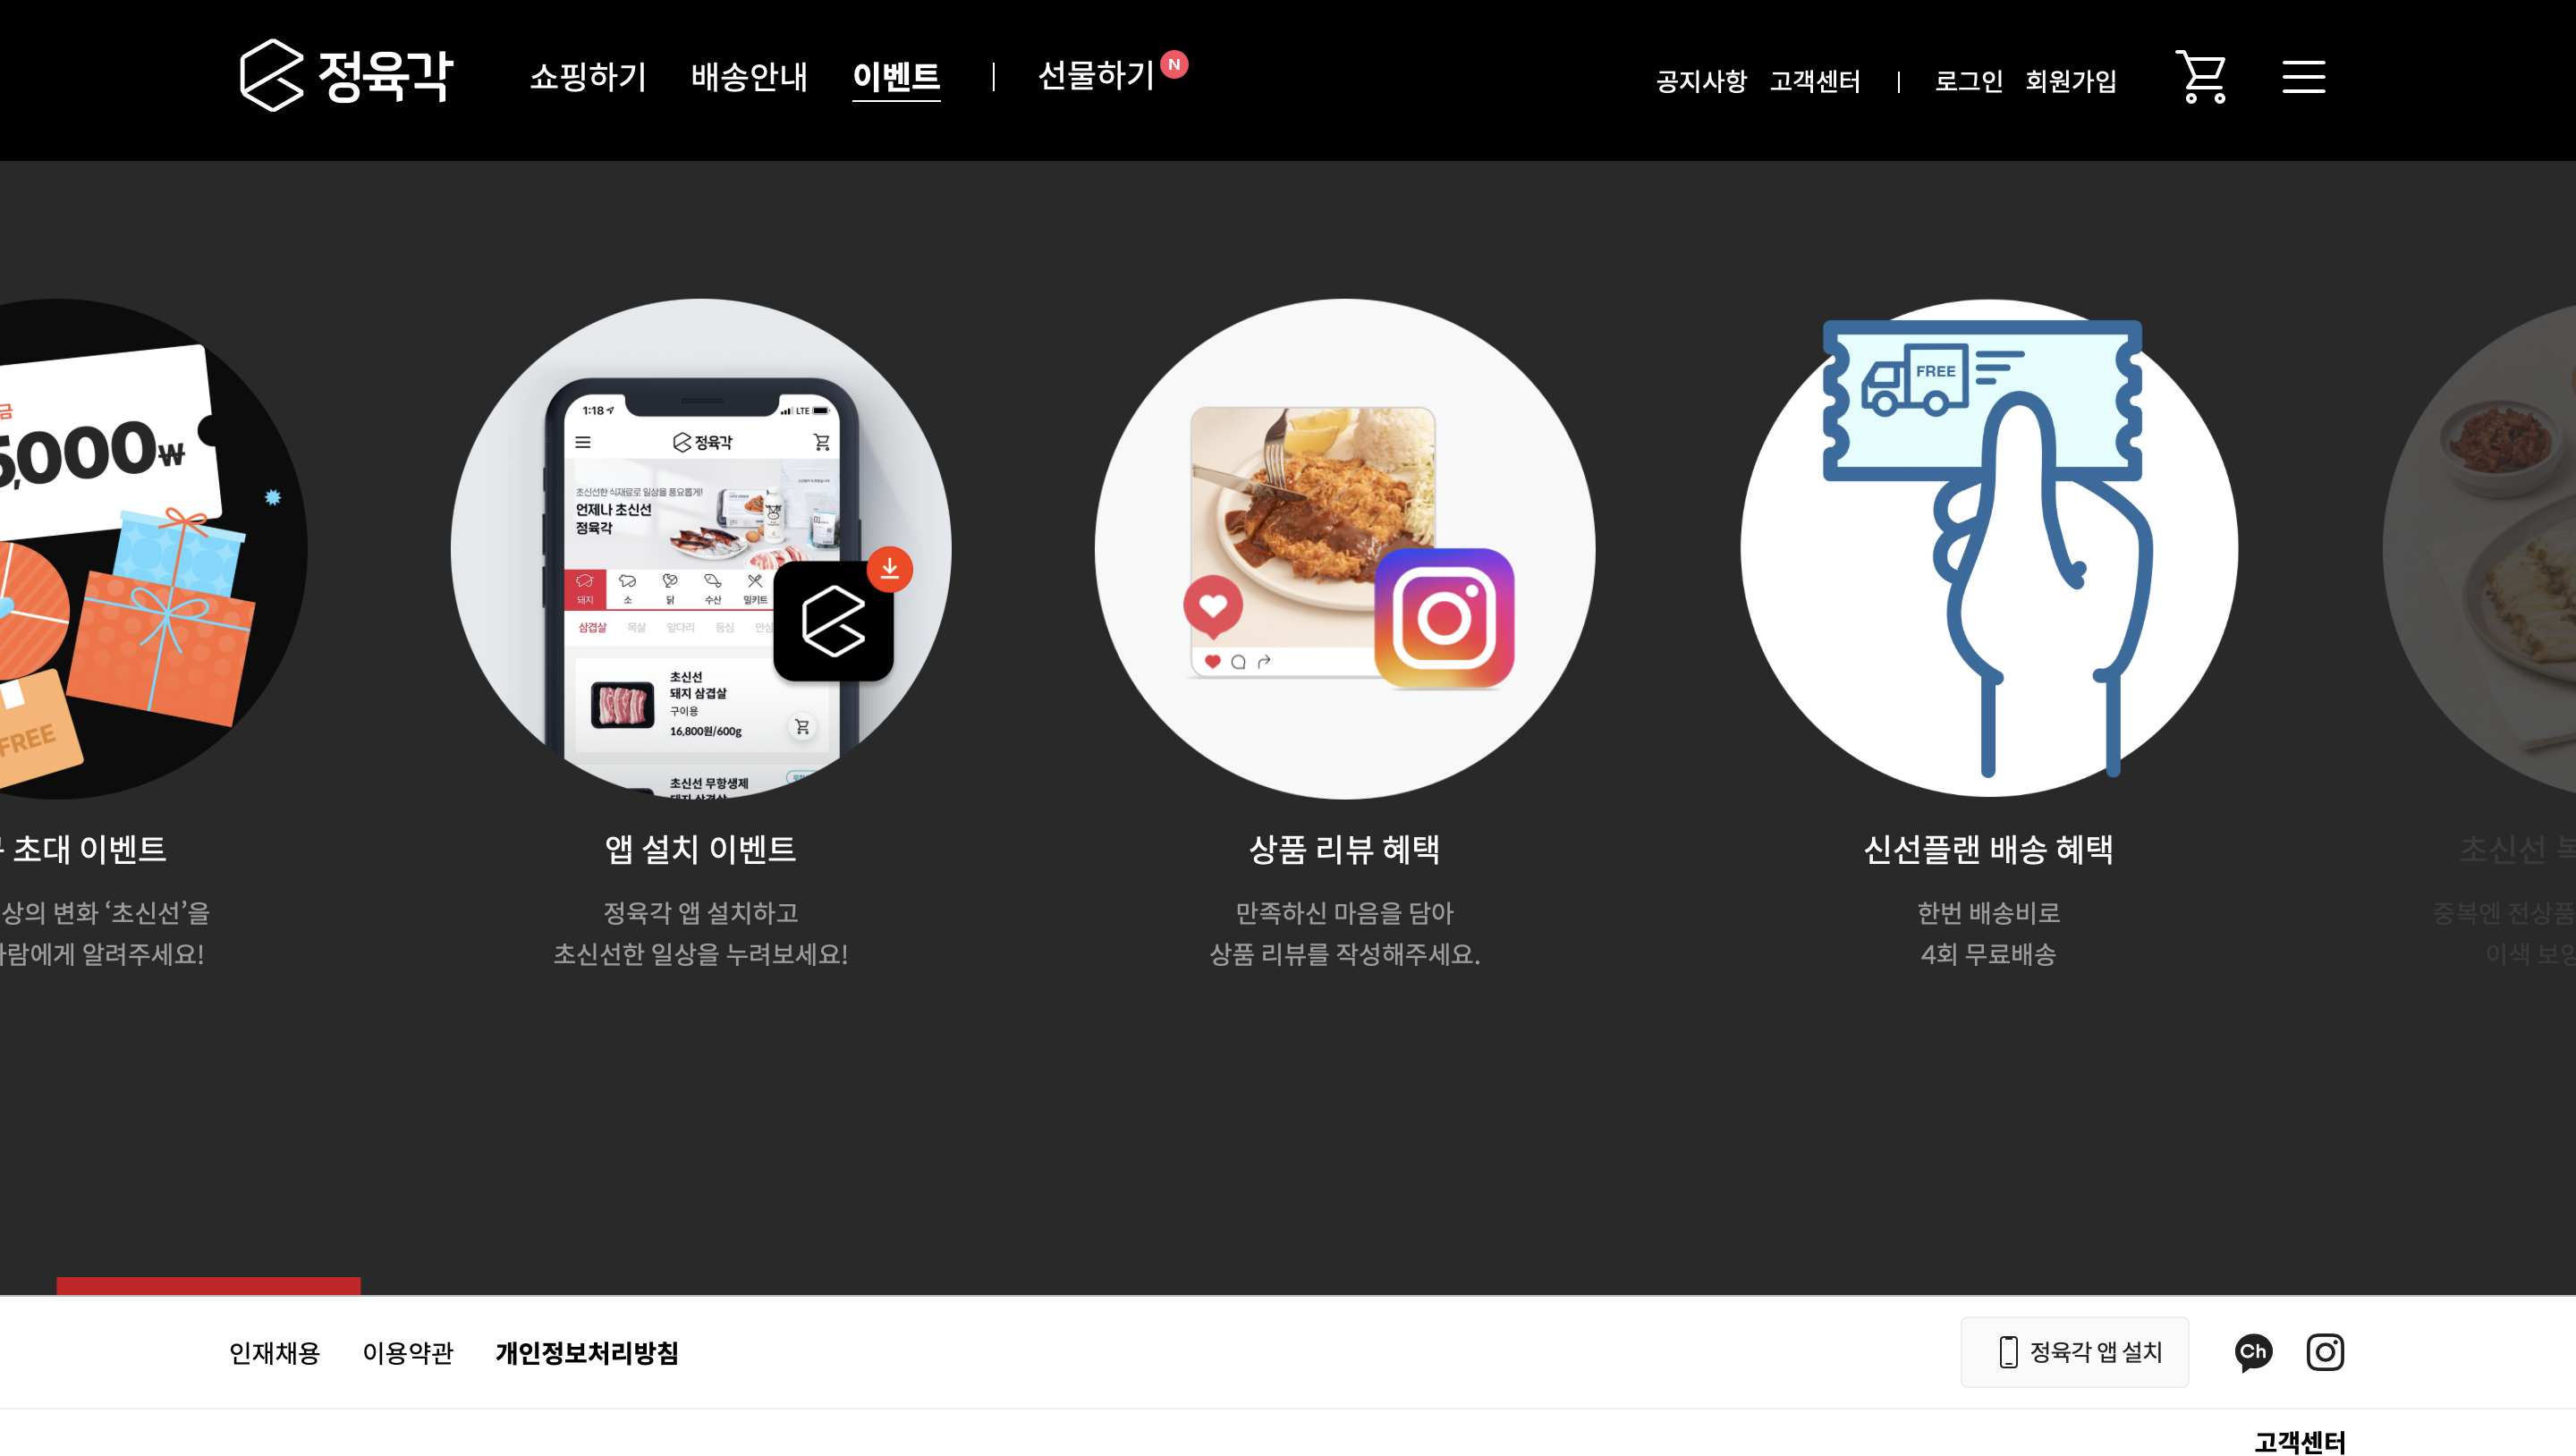
정육각의 event page를 구현하고자 한다. 마우스를 'press'하고(click과 구분할 것) 우측에서 좌측으로 넘기면, 진행중인 event들이 oveflow되는 모습을 볼 수 있다. best practice를 이해하는 방식을 택했다.
best practice 🔵
import React, { useState } from "react";
import styled from "styled-components";

const CardContainer = styled.div`
  display: flex;
  overflow-x: scroll;
  width: 100%;
  height: 200px;
  background-color: #f0f0f0;
  cursor: grab;
`;

const Card = styled.div`
  flex: 0 0 200px;
  height: 100%;
  background-color: #fff;
  border: 1px solid #ccc;
  margin-right: 10px;
  display: flex;
  justify-content: center;
  align-items: center;
  font-size: 20px;
`;

const App = () => {
  const [isMousePressed, setIsMousePressed] = useState(false);
  const [containerScrollLeft, setContainerScrollLeft] = useState(0);
  const [startMouseX, setStartMouseX] = useState(0);

  const handleMousePress = (e) => {
    setIsMousePressed(true);
    setStartMouseX(e.pageX - e.currentTarget.offsetLeft);
    setContainerScrollLeft(e.currentTarget.scrollLeft);
  };

  const handleMouseMove = (e) => {
    if (!isMousePressed) return;
    e.preventDefault();
    const currentMouseX = e.pageX - e.currentTarget.offsetLeft;
    const mouseMovement = currentMouseX - startMouseX;
    console.log(mouseMovement);
    console.log("2", containerScrollLeft);
    e.currentTarget.scrollLeft = containerScrollLeft - mouseMovement;
  };

  const handleMouseRelease = () => {
    setIsMousePressed(false);
  };

  return (
    <CardContainer
      // 누르는 순간
      onMouseDown={handleMousePress}
      onMouseMove={handleMouseMove}
      onMouseUp={handleMouseRelease}
      onMouseLeave={handleMouseRelease}
    >
      {/* 카드 컴포넌트들 */}

      <Card>Card 1</Card>
      <Card>Card 2</Card>
      <Card>Card 3</Card>
      <Card>Card 4</Card>
      <Card>Card 5</Card>
      <Card>Card 1</Card>
      <Card>Card 2</Card>
      <Card>Card 3</Card>
      <Card>Card 4</Card>
      <Card>Card 5</Card>
    </CardContainer>
  );
};

export default App;
card container에 onMouseDown, onMouseMove, onMouseUp, onMouseLeave가 존재한다.
onClick은 '클릭'할 때 특정 event 객체가 발생한다. 위 요소들도 마찬가지이다.
onMouseDown는 마우스로 press할 때, onMouseMove는 마우스로 돔에서 움직일 때, onMouseUp는 마우스를 뗄 때, onMouseLeave는 특정 element에서 마우스가 떠났을 때 event 객체를 발생시킨다.
1. onMouseDown
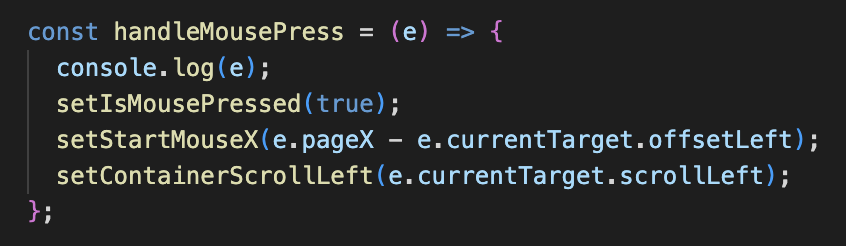
onMouseDown에는 handleMousePress 함수가 전달된다. isMousePressed라는 상태를 true로 변경한다. 이어서 startMouseX라는 상태를, 'press'하는 순간 page의 x좌표에서 card container의 offsetLeft를 뺀 값으로 update한다. 마지막으로 containerScrollLeft라는 상태를 e.currentTarget.scrollLeft로 update한다
2. onMouseMove
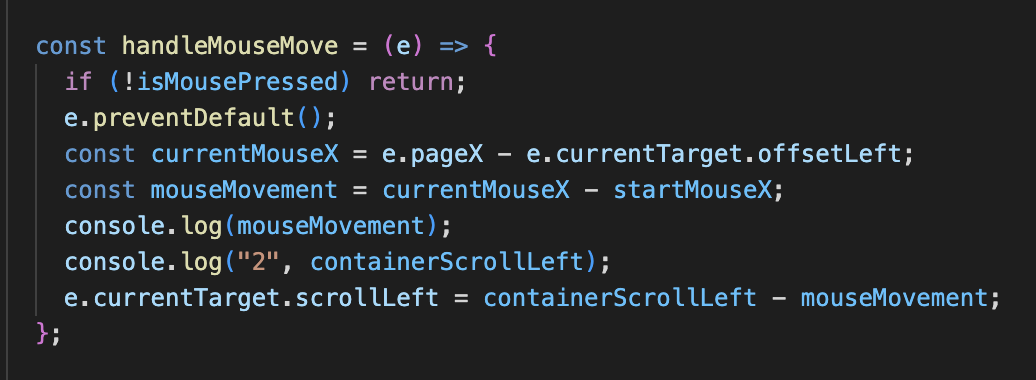
press한 상태라면 if문을 통과한 뒤 preventDefault 함수가 실행된다. 이후 currentMouseX 상수에 page의 x좌표에서 offsetLeft를 뺀 값을 할당한다. 움직인 이후의 x좌표를 의미하기에 startMouseX의 x좌표와는 구분된다는 점을 인지해야 한다.
mouseMovement 상수는 currrent page의 x좌표에서 start page의 x좌표를 뺀 값이 할당된다.
preventDefault, currentMouseX 할당, mouseMovement 할당이 종료되면, 마지막으로 e.currentTarget.scrollLeft 값을 containerScrollLeft에서 mouseMovement를 뺀 값으로 변환한다.
3. onMouseUp, onMouseLeave
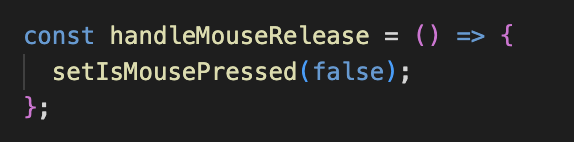
isMousePressed를 false로 변환하는 기능만을 수행하는 함수이다.
회고 🔴
containerScrollLeft 부분이 이해가 되지 않았다. 내일은 containerScrollLeft까지 명확하게 이해해서 프로젝트에 적용하는 데 성공하길 바란다. 이해하지 못하고 자려니까 굉장히 찝찝한데, 처음 시도해 보는 거니까 첫 술에 배부르려 욕심내지 말자. 바보 감자 주제에 한 큐에 이해되길 바라는 건 '오버'다.
More to read
프론트엔드와 백엔드 사이
HTTP 상태 코드는 프론트엔드에서 백엔드로 보냈던 요청의 수행 결과를 의미하는 일종의 약속이며, API를 구성하는 핵심 요소 중 하나입니다. 상태 코드와 관련하여, 백엔드는 잘 모르는 프론트엔드의 슬픈 사정이 있습니다.아래는 요청이 실패했음에도, 백엔드에서 상태 코드
JWT토큰 관리 방식 톺아보기
0. 들어가며 🎯 서비스에 접근하려는 사용자가 누구인지 확인하는 과정을 사용자 인증이라고 합니다. 인증된 사용자에게 주어진 권한을 확인하는 작업은 인가라고 부릅니다. 이번 글에서는 인가는 다루지 않습니다. 사용자 인증에는 많은 방식이 있지만, 오늘은 세션 인증 방
A2AA2A / MCP 멀티 에이전트 오케스트레이션
0. 들어가며 ✍️ Google for Developers에, 레스토랑 공급망 시나리오로 엮은 6대 프로토콜(MCP, A2A, UCP, AP2, A2UI, AG-UI)에 대한 가이드가 게시된 이후, MCP와 A2A부터 구현해 보는 것이 좋을 것 같다는 생각이 들었습니