React
[TIL/React] 2023/08/03
2023년 8월 3일1min read
프로젝트에 로그인 적용 🟠
1. Firebase에서 프로젝트를 생성함


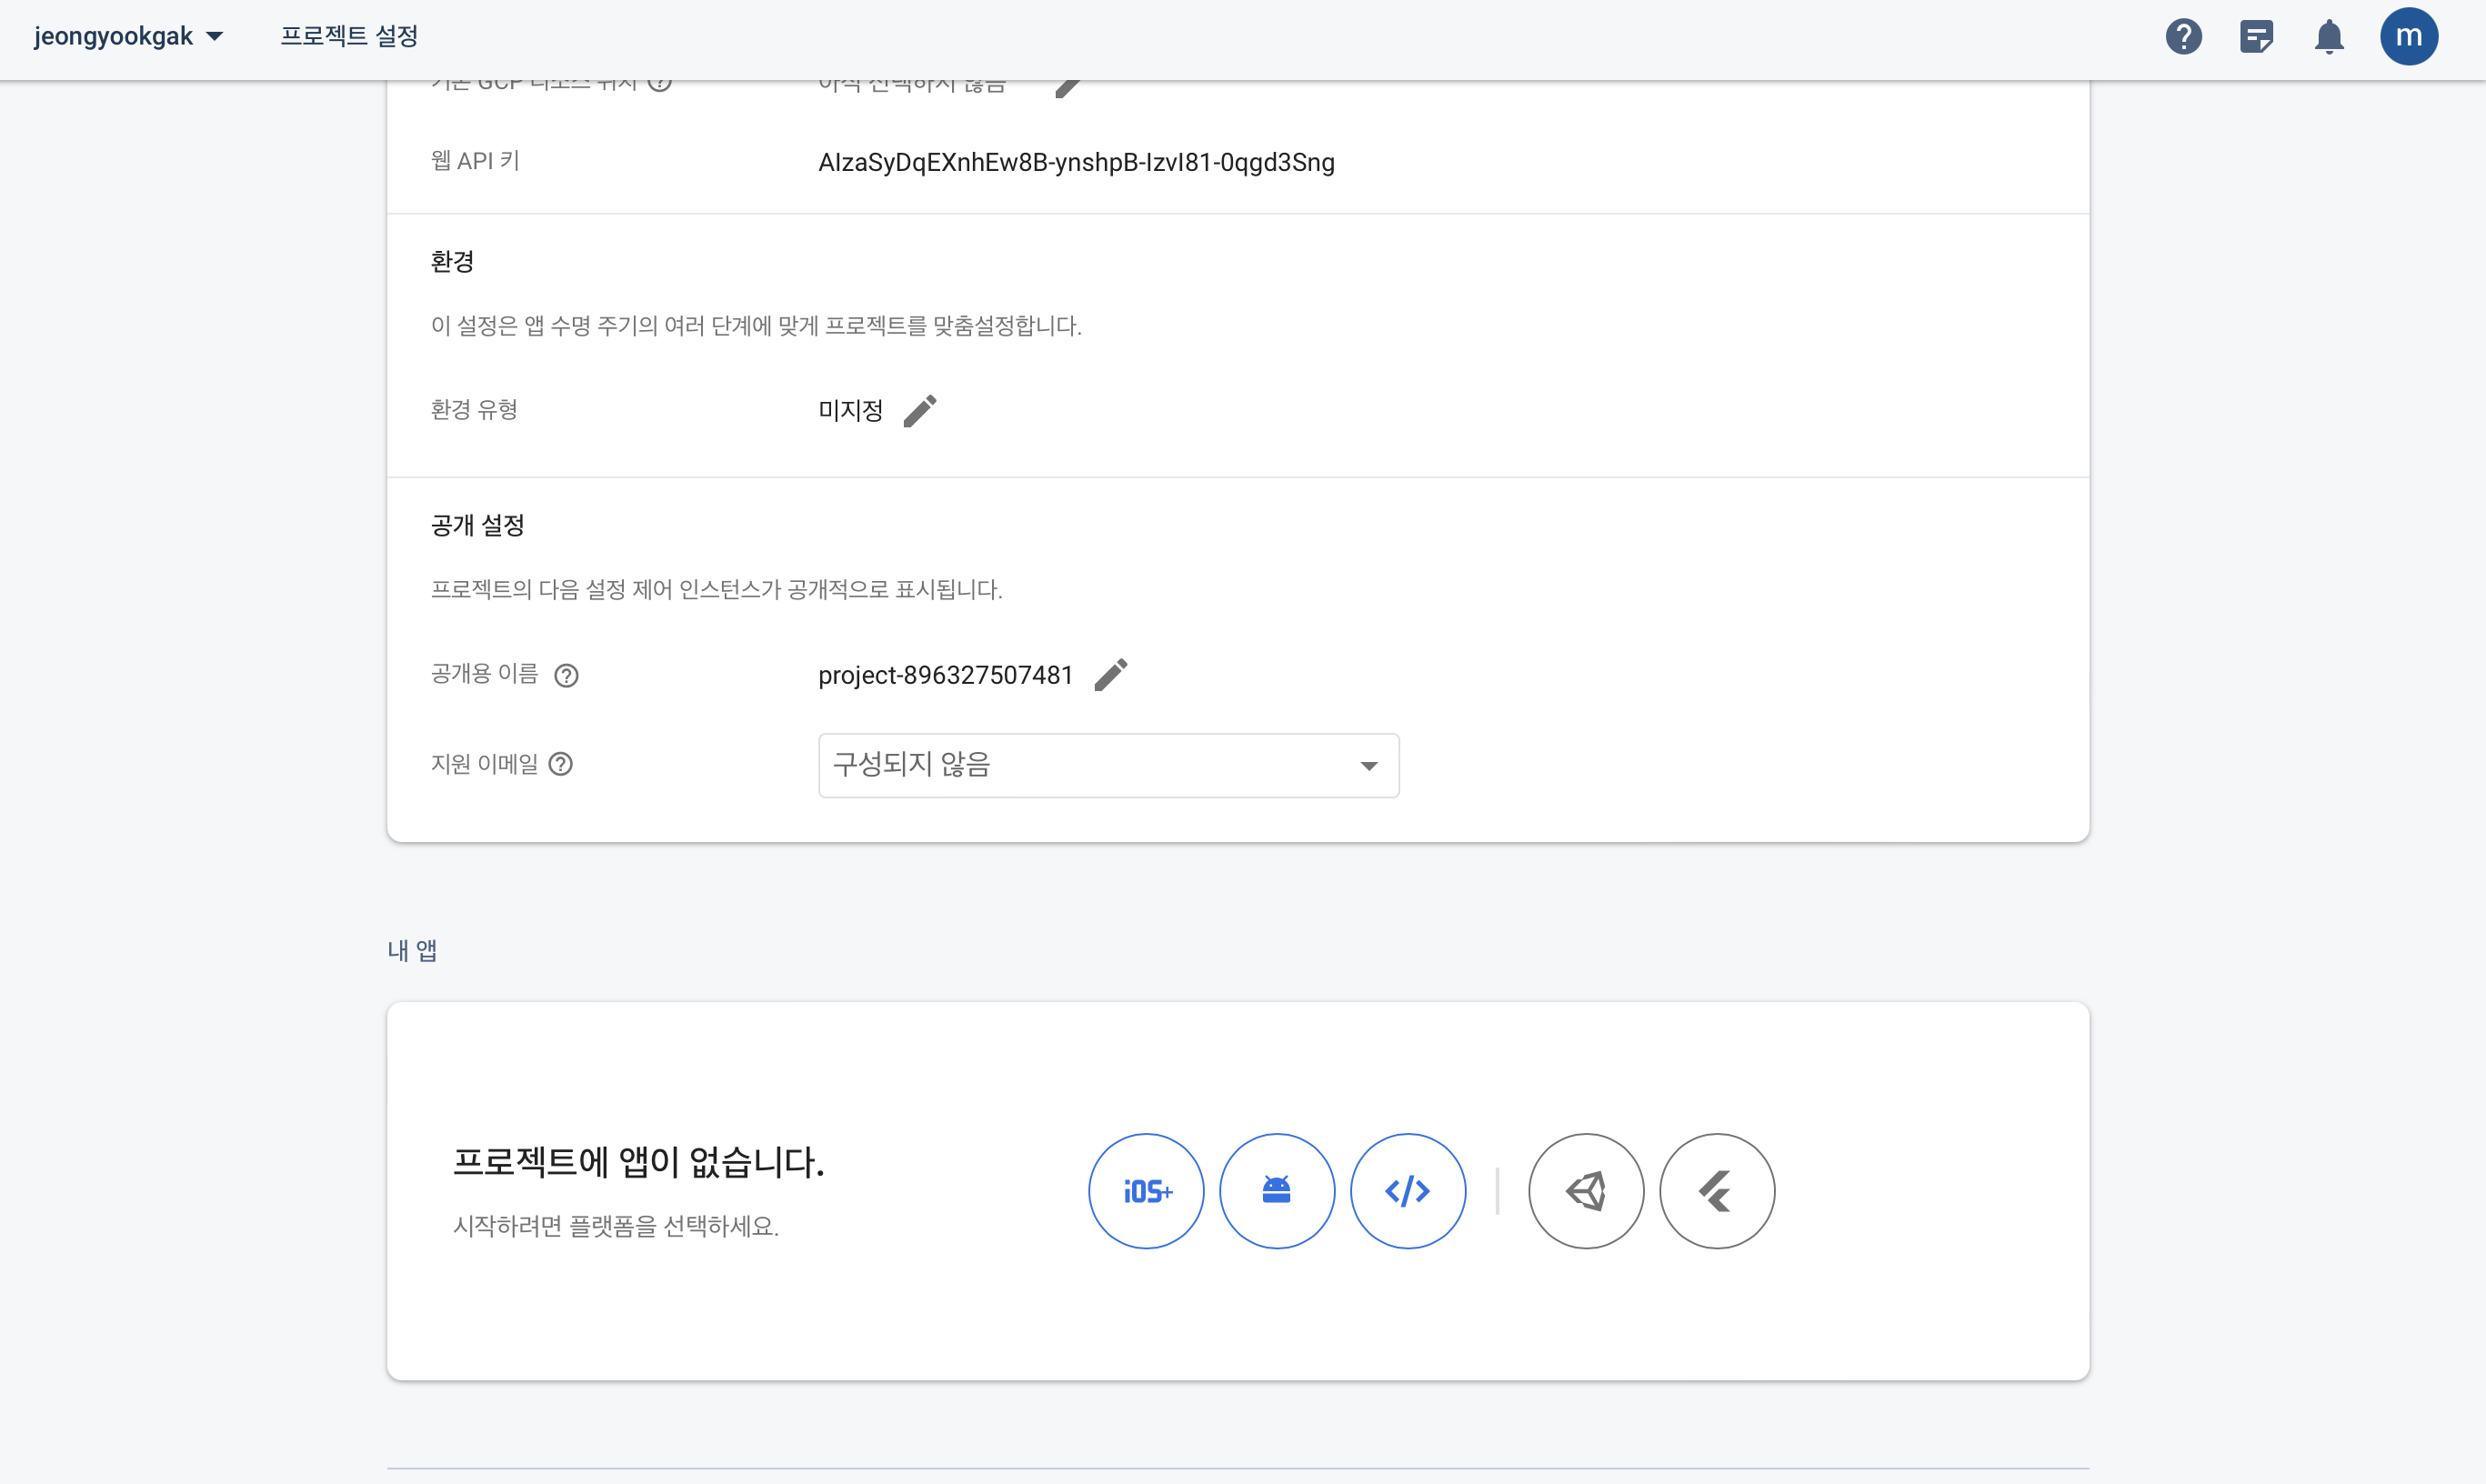
프로젝트 설정에서 태그() 클릭, 앱 등록을 마치면 Firebase 초기화와 관련된 코드를 받을 수 있음
2. VSCode 설정
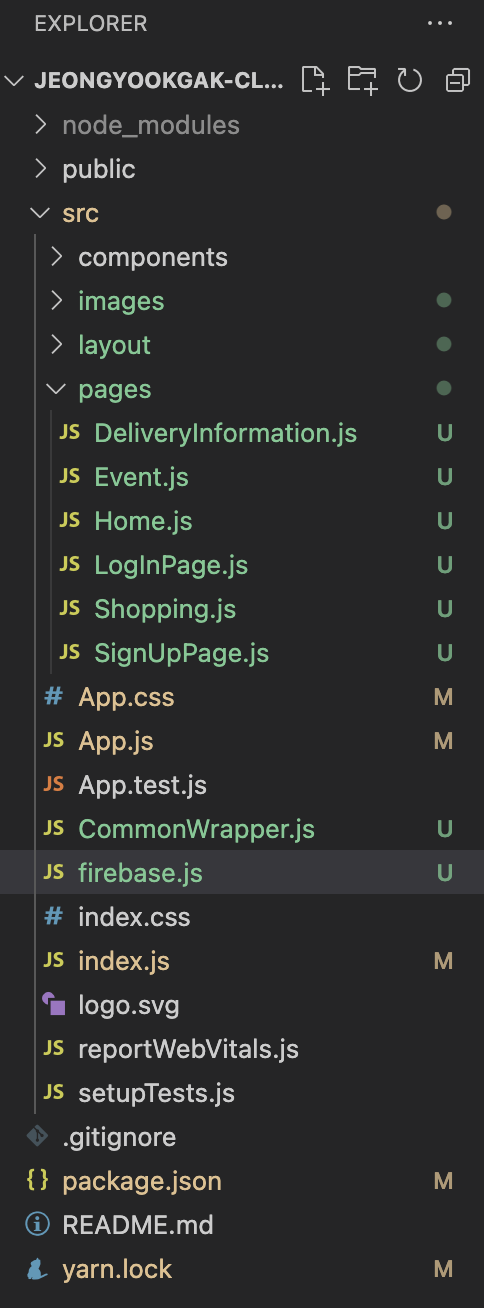
src 디렉터리 내부에 firebase.js 파일 생성
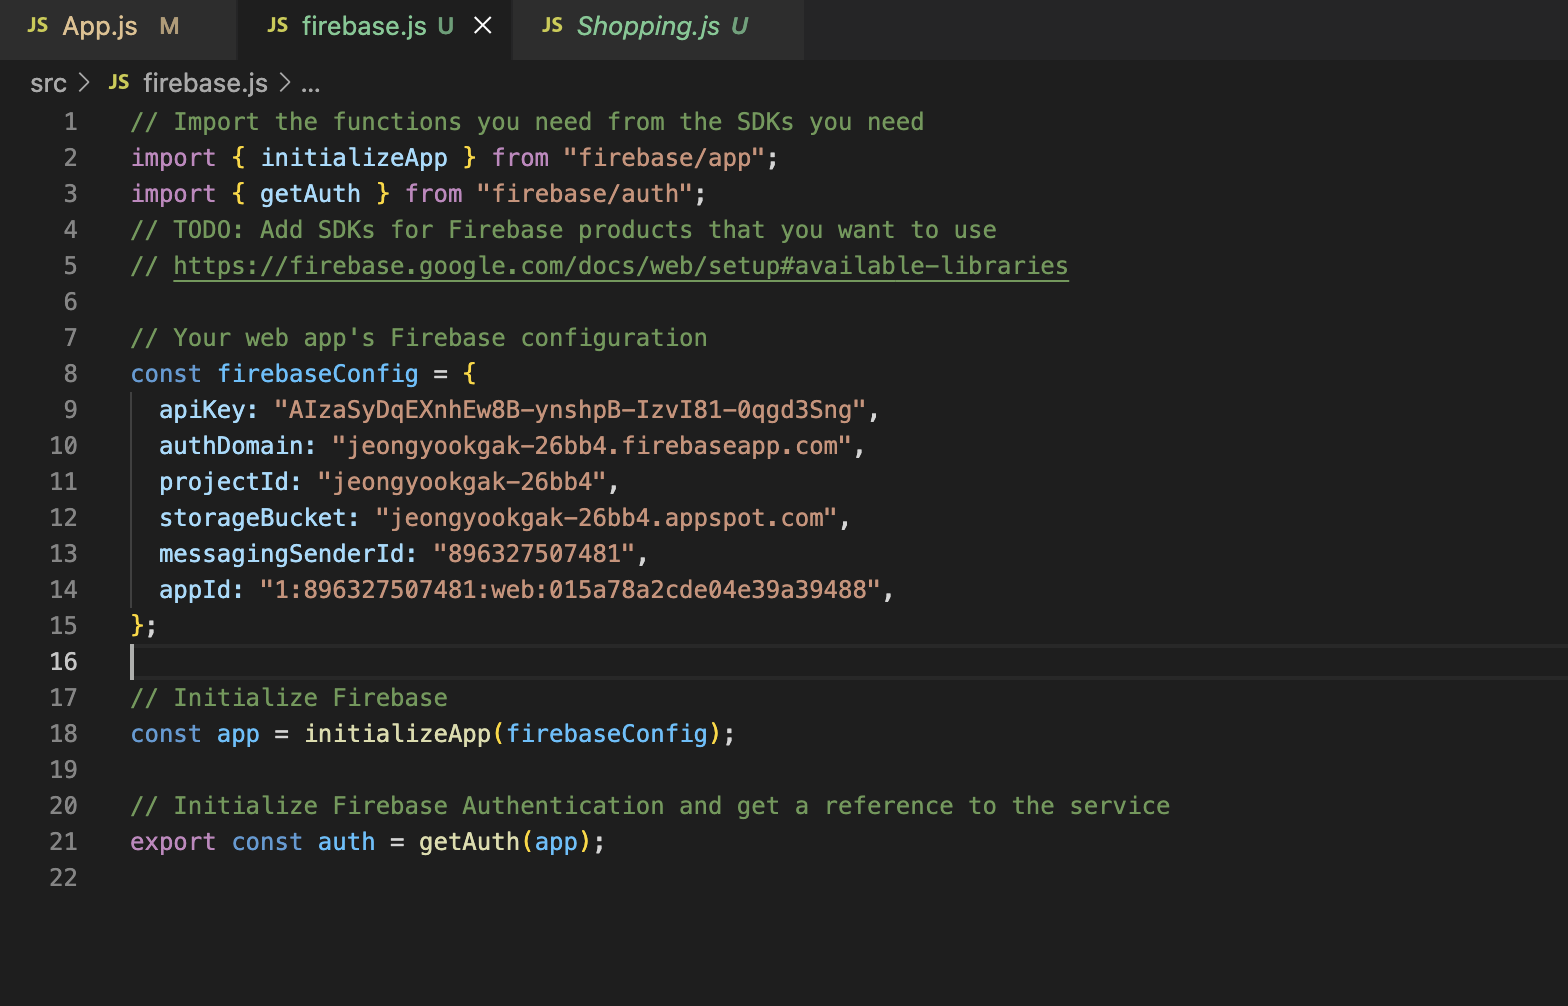
firebase를 install한 후에 위 코드를 입력
code
import { signInWithEmailAndPassword } from "firebase/auth";
import React, { useState } from "react";
import styled from "@emotion/styled";
import { auth } from "../firebase";

const LogInTitle = styled.p`
  text-align: center;
  margin: 100px;
  font-weight: bolder;
  font-size: 40px;
`;

const LogInFormWrapper = styled.div`
  display: flex;
  flex-direction: column;
  justify-content: center;
  max-width: 400px;
  height: 500px;
  margin: 0 auto;
`;

const FormLabel = styled.label`
  font-size: 16px;
  margin-bottom: 8px;
`;

const FormInput = styled.input`
  padding: 20px;
  margin-bottom: 16px;
  border: 1px solid #ccc;
  border-radius: 8px;
  font-size: 16px;
`;

const SubmitButton = styled.button`
  background-color: black;
  color: #fff;
  padding: 20px;
  border: none;
  border-radius: 8px;
  font-size: 18px;
  cursor: pointer;
  &:hover {
    background-color: #fff;
    color: black;
    border: 2px solid black;
  }
`;

const SignIn = () => {
  const [email, setEmail] = useState("");
  const [password, setPassword] = useState("");

  const signIn = (e) => {
    e.preventDefault();
    signInWithEmailAndPassword(auth, email, password)
      .then((userCredential) => {
        console.log(userCredential);
      })
      .catch((error) => {
        console.log(error);
      });
  };

  return (
    <div style={{ height: "1000px" }}>
      <form onSubmit={signIn}>
        <LogInTitle>로그인</LogInTitle>
        <LogInFormWrapper>
          <h2>이메일 로그인</h2>

          <FormLabel>Email</FormLabel>
          <FormInput
            type="email"
            placeholder="아이디(이메일 주소)를 입력하세요"
            value={email}
            onChange={(e) => setEmail(e.target.value)}
          />

          <FormLabel>Password</FormLabel>
          <FormInput
            type="password"
            placeholder="비밀번호를 입력하세요"
            value={password}
            onChange={(e) => setPassword(e.target.value)}
          />

          <SubmitButton>로그인</SubmitButton>
        </LogInFormWrapper>
      </form>
    </div>
  );
};

export default SignIn;
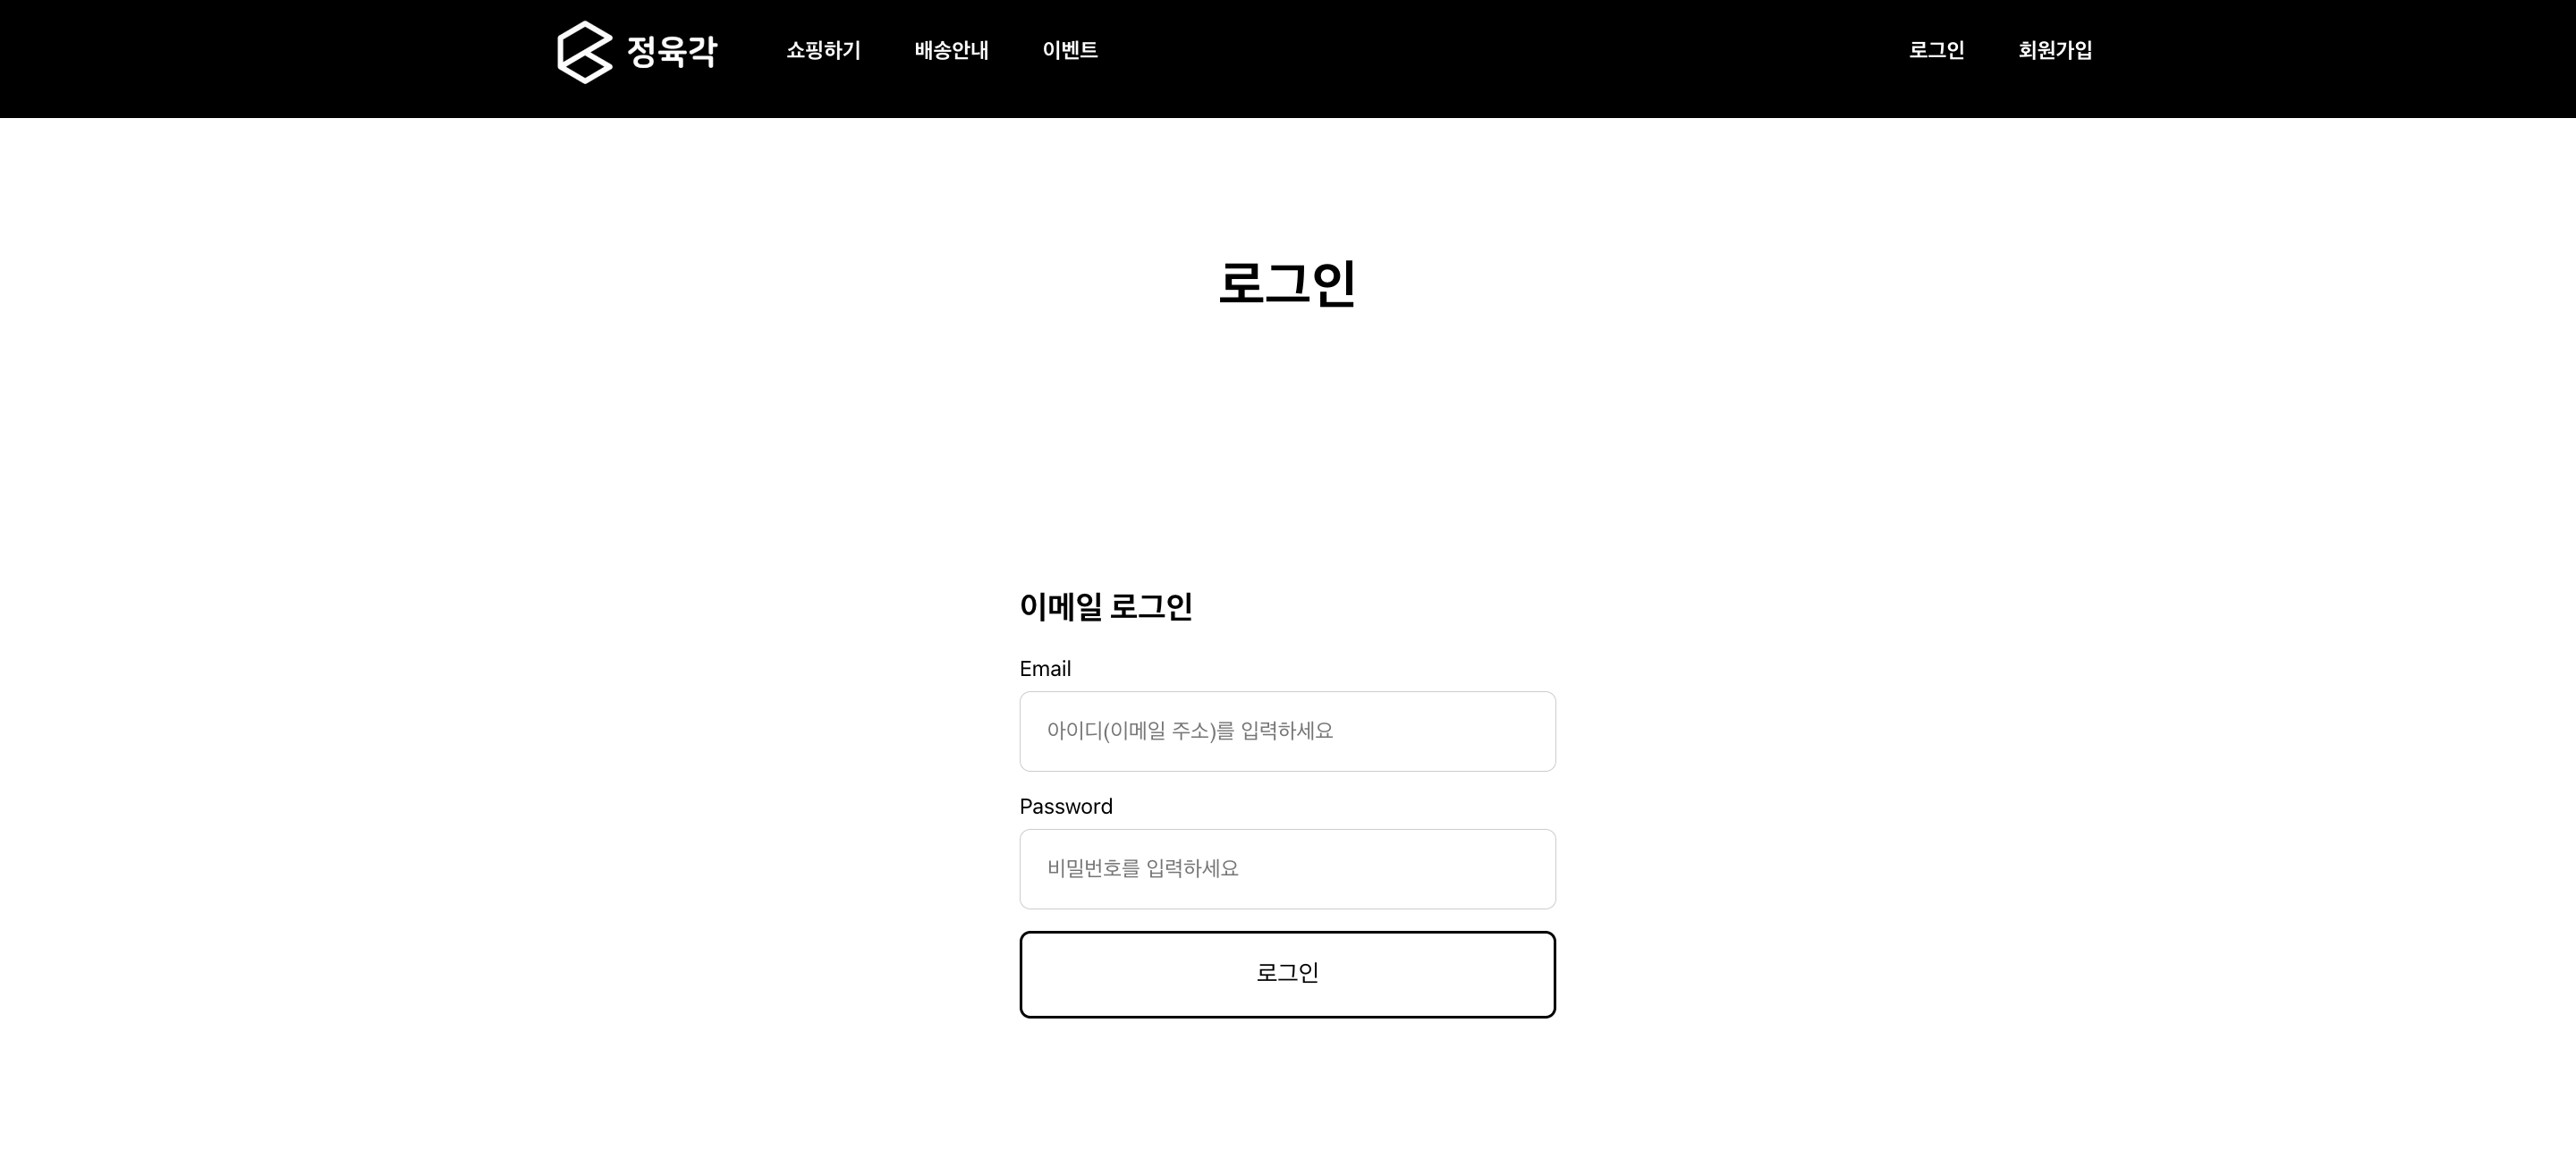
로그인 페이지를 살짝 꾸며본다...

More to read
REST API
프론트엔드와 백엔드 사이
HTTP 상태 코드는 프론트엔드에서 백엔드로 보냈던 요청의 수행 결과를 의미하는 일종의 약속이며, API를 구성하는 핵심 요소 중 하나입니다. 상태 코드와 관련하여, 백엔드는 잘 모르는 프론트엔드의 슬픈 사정이 있습니다.아래는 요청이 실패했음에도, 백엔드에서 상태 코드
JWT토큰 관리 방식 톺아보기
0. 들어가며 🎯 서비스에 접근하려는 사용자가 누구인지 확인하는 과정을 사용자 인증이라고 합니다. 인증된 사용자에게 주어진 권한을 확인하는 작업은 인가라고 부릅니다. 이번 글에서는 인가는 다루지 않습니다. 사용자 인증에는 많은 방식이 있지만, 오늘은 세션 인증 방
A2AA2A / MCP 멀티 에이전트 오케스트레이션
0. 들어가며 ✍️ Google for Developers에, 레스토랑 공급망 시나리오로 엮은 6대 프로토콜(MCP, A2A, UCP, AP2, A2UI, AG-UI)에 대한 가이드가 게시된 이후, MCP와 A2A부터 구현해 보는 것이 좋을 것 같다는 생각이 들었습니