[TIL/AWS] 2024/10/22
1. 리액트 생성 및 종속성 설치 ✍️ 1.1 리액트 생성 🚀 1.2 종속성 설치(+ Amplify 생성) 🚀
1. 리액트 생성 및 종속성 설치 ✍️
1.1 리액트 생성 🚀
npx create-react-app amplify-react-app
cd amplify-react app
1.2 종속성 설치(+ Amplify 생성) 🚀
npm install aws-amplifyamplify init
? Enter a name for the project: cryptoapp
? Enter a name for the environment: local
? Choose your default editor: Visual Studio Code
? Choose the type of app that you're building: javascript
? What javascript framework are you using: react
? Source Directory Path: src
? Distribution Directory Path: build
? Build Command: npm run-script build
? Start Command: npm run-script start
? Select the authentication method you want to use: AWS profile
? Please choose the profile you want to use <minkwan>이렇게 설정하시라. Amplify 프로젝트와 리액트 애플리케이션이 성공적으로 생성되었다.
2. Amplify CLI로 서버리스 함수 생성 ✍️
우선은 함수에서 암호 화폐 정보 리스트를 하드코딩하고 클라이언트로 반환하는 것을 목표로 했다.
amplify add function

? Select which capability you want to add: Lambda function (serverless function)
? Provide an AWS Lambda function name: cryptofunction
? Choose the runtime that you want to use: NodeJS
? Choose the function template that you want to use: Serverless ExpressJS function (Integration with
 API Gateway)
? Do you want to configure advanced settings? No
? Do you want to edit the local lambda function now? No
"Successfully added resource cryptofunction locally." 문구가 등장하면 함수가 성공적으로 생성된 것이다.
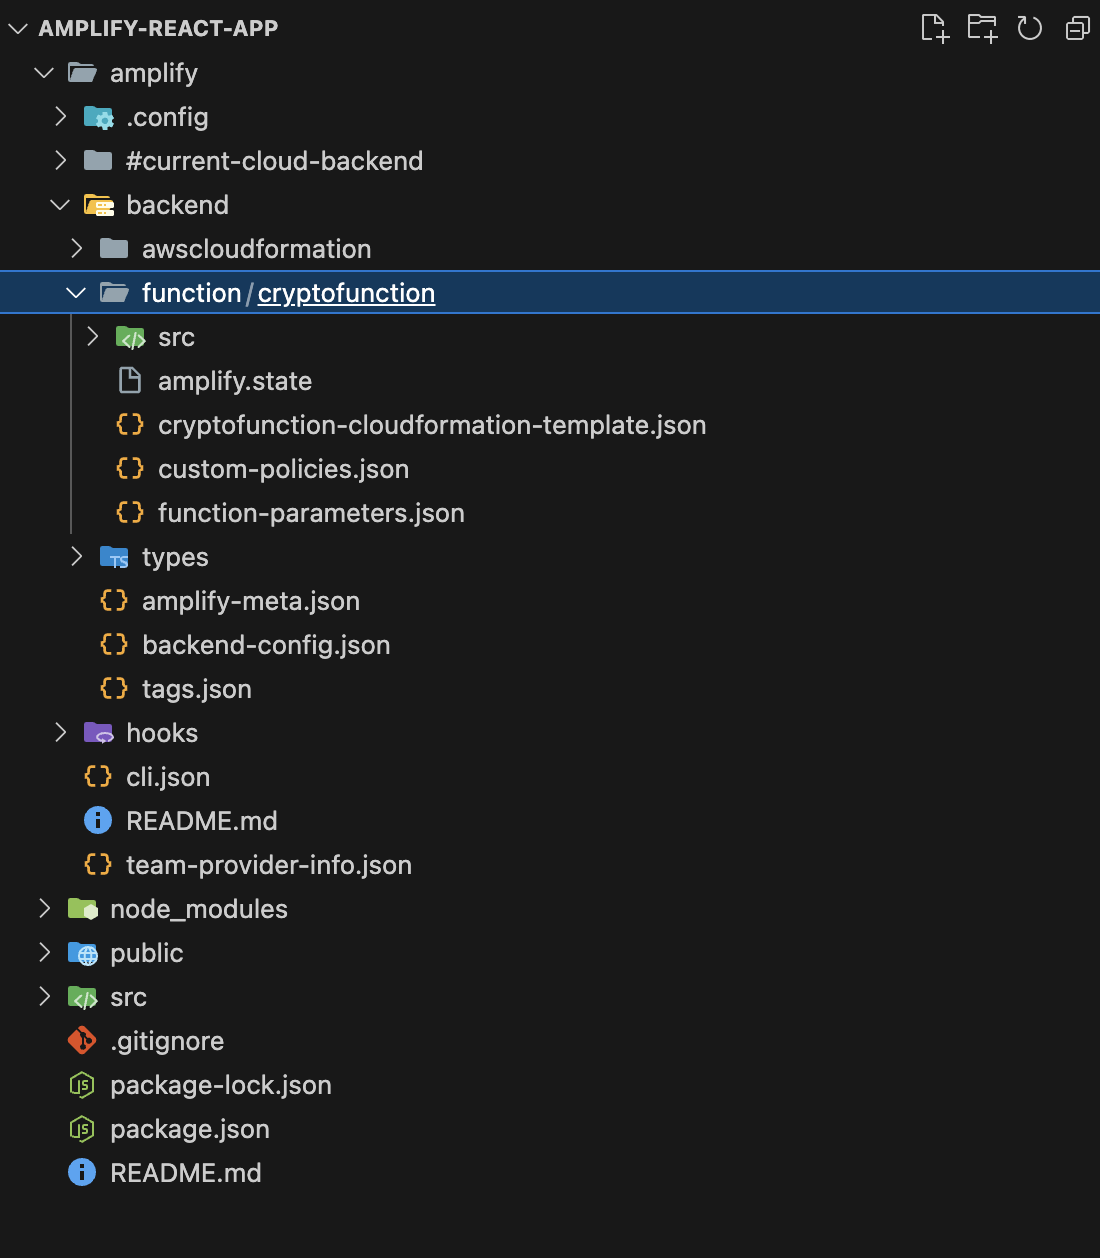
amplify 디렉터리 안에 backend/function/cryptofunction 경로로 새로운 하위 디렉터리들이 생성된 것을 확인할 수 있다. 앞으로 CLI를 통해 생성되는 모든 함수는 이 디렉터리 안에 저장될 것이다.
추가적으로 src/index.js에서 두 가지 사항을 확인할 필요가 있다.

src/index.js에는 ``exports.handler``가 있다. 이것은 함수 호출의 시작 지점으로 함수가 호출되었을 때 실행되는 코드다.
함수에서 직접 이벤트를 처리할 수도 있겠으나, API를 사용해서 작업할 예정이기에 라우팅을 사용하여 경로를 익스프레스로 전달하는 방법이 더 유용하다. ``Serverless Express`` 프레임워크는 HTTP 작업을 쉽게 수행할 수 있는 방법을 제공하며, 함수 보일러플레이트가 내장되어 있다. awsServerlessExpress가 바로 그것이다. event와 context 및 경로가 app.js에서 실행 중인 익스프레스 서버로 전달되는 위치라고 할 수 있다. 전체 index.js 코드는 다음과 같다.
const awsServerlessExpress = require('aws-serverless-express');
const app = require('./app');

/**
 * @type {import('http').Server}
 */
const server = awsServerlessExpress.createServer(app);

/**
 * @type {import('@types/aws-lambda').APIGatewayProxyHandler}
 */
exports.handler = (event, context) => {
  console.log(`EVENT: ${JSON.stringify(event)}`);
  return awsServerlessExpress.proxy(server, event, context, 'PROMISE').promise;
};
3. /coins 경로 생성 ✍️
amplify/backend/function/cryptofunction/src/app.js 경로에 다음 코드를 추가한다.
app.get("/coins", function (req, res) {
  const coins = [
    { name: "Bitcoin", symbol: "BTC", price_usd: "10000" },
    { name: "Ethereum", symbol: "ETH", price_usd: "400" },
    { name: "Litecoin", symbol: "LTC", price_usd: "150" },
  ];
  res.json({
    coins,
  });
});
이 경로로 함수가 호출되면 coins를 키로 하고 코인의 정보를 갖고 있는 배열을 값으로 가진 '객체'를 반환한다.
4. API 추가 ✍️
4-1. 새 API 생성 🚀
프로젝트 루트에서 Amplify add 명령어를 이용해서 API를 생성한다. Amazon API Gateway를 사용하기 위함이다.
amplify add api

? Select from one of the below mentioned services: REST
? Provide a friendly name for your resource to be used as a label for this category in the project: · cryptoapi
? Provide a path (e.g., /book/{isbn}): · /coins
? Choose a Lambda source · Use a Lambda function already added in the current Amplify project
✔ Only one option for [Choose the Lambda function to invoke by this path]. Selecting [cryptofunction].
? Restrict API access? (Y/n) · no
? Do you want to add another path? (y/N) · no
4-2. API와 Lambda 함수 배포 🚀
함수와 API가 모두 생성되었으니 계정에 배포해서 실제로 동작하게 해야 한다.
amplify push

? Are you sure you want to continue? Y
Amplify CLI status 명령어를 통해 프로젝트의 현재 상태를 언제든 확인할 수 있다.
amplify status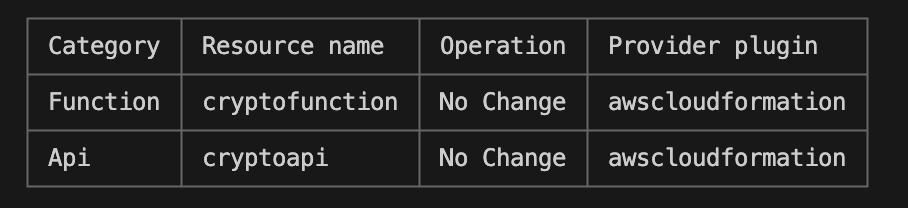
5. 새 API와 통신 ✍️
Amplify 클라이언트 라이브러리를 사용하려면 루트에서 설정해야 하는 기본 설정이 있다. 클라이언트 src/index.js 파일의 마지막 import 아래에 다음 내용을 추가한다.
import { Amplify } from "aws-amplify";
import config from "./aws-exports";
Amplify.configure(config);
src/App.js를 다음과 같이 수정해서 API를 호출하고 데이터를 렌더링한다.
import React, { useState, useEffect } from "react";
import { API } from "aws-amplify";
import "./App.css";

function App() {
  const [coins, setCoins] = useState([]);

  async function fetchCoins() {
    const data = await API.get("cryptoapi", "/coins");
    setCoins(data.coins);
  }

  useEffect(() => {
    fetchCoins();
  }, []);

  return (
    <div>
      {coins?.map((coin, idx) => (
        <div key={idx}>
          <h2>
            {coin.name} - {coin.symbol}
          </h2>
          <h4>${coin.price_usd}</h4>
        </div>
      ))}
    </div>
  );
}

export default App;


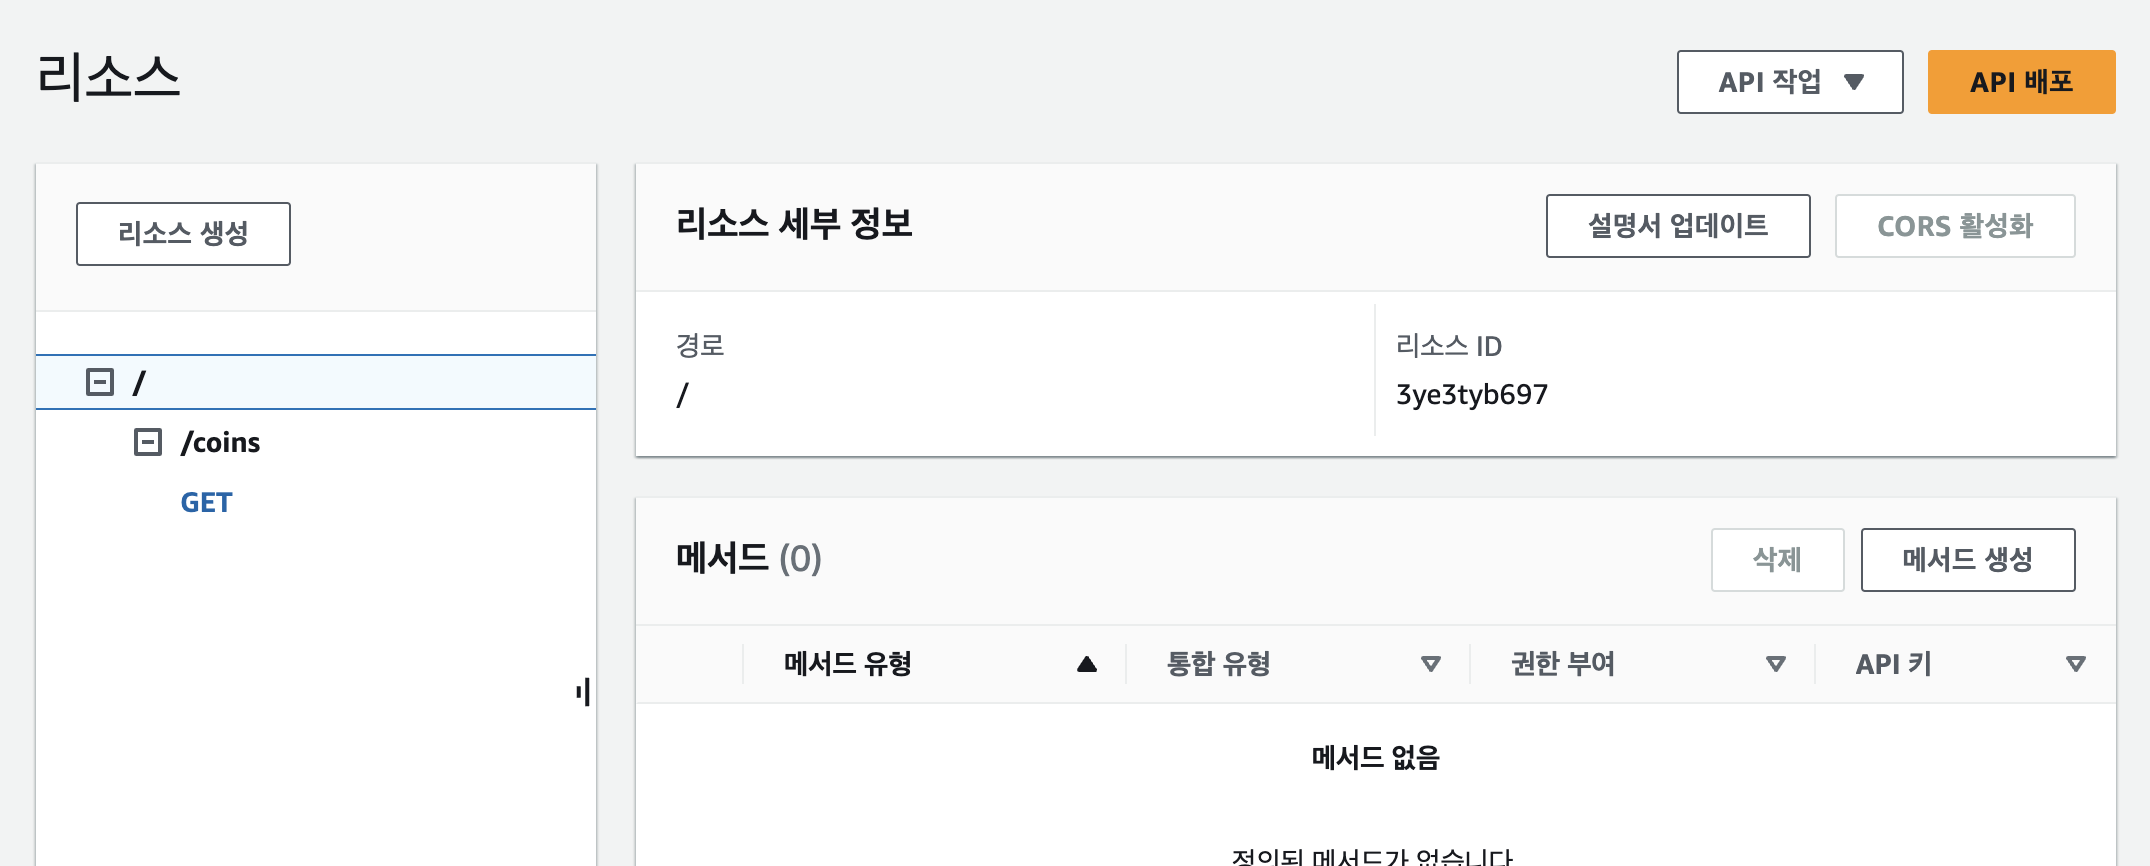
음,,, 해결 못 함
리소스 경로가 굉장히 수상한데 내일 다시 도전한다
More to read
프론트엔드와 백엔드 사이
HTTP 상태 코드는 프론트엔드에서 백엔드로 보냈던 요청의 수행 결과를 의미하는 일종의 약속이며, API를 구성하는 핵심 요소 중 하나입니다. 상태 코드와 관련하여, 백엔드는 잘 모르는 프론트엔드의 슬픈 사정이 있습니다.아래는 요청이 실패했음에도, 백엔드에서 상태 코드
JWT토큰 관리 방식 톺아보기
0. 들어가며 🎯 서비스에 접근하려는 사용자가 누구인지 확인하는 과정을 사용자 인증이라고 합니다. 인증된 사용자에게 주어진 권한을 확인하는 작업은 인가라고 부릅니다. 이번 글에서는 인가는 다루지 않습니다. 사용자 인증에는 많은 방식이 있지만, 오늘은 세션 인증 방
A2AA2A / MCP 멀티 에이전트 오케스트레이션
0. 들어가며 ✍️ Google for Developers에, 레스토랑 공급망 시나리오로 엮은 6대 프로토콜(MCP, A2A, UCP, AP2, A2UI, AG-UI)에 대한 가이드가 게시된 이후, MCP와 A2A부터 구현해 보는 것이 좋을 것 같다는 생각이 들었습니